
【1.環境】
- OS - Ubuntu 9.10 Desktop (32bit)
- gcc-avr - 1:4.3.3-1
【2.安裝開發工具於 Ubuntu】
- 安裝
$ sudo aptitude install binutils-avr avrdude gcc-avr
- 安裝 Arduino IDE
$ wget http://arduino.googlecode.com/files/arduino-0017.tgz
$ tar zxvf arduino-0017.tgz
$ cd arduino-0017
$ ./arduino
【3.Hello World】
- 先透過 USB 連接到電腦,若是有抓到 Arduino 板子的話,可以看到 PWR 燈和 L 燈會亮起來,可透過 dmesg 指令去察看
[   51.480017] usb 4-2: new full speed USB device using uhci_hcd and address 5
[   51.671681] usb 4-2: configuration #1 chosen from 1 choice
[   51.703685] usbcore: registered new interface driver usbserial
[   51.703703] USB Serial support registered for generic
[   51.703739] usbcore: registered new interface driver usbserial_generic
[   51.703742] usbserial: USB Serial Driver core
[   51.722008] USB Serial support registered for FTDI USB Serial Device
[   51.722100] ftdi_sio 4-2:1.0: FTDI USB Serial Device converter detected
[   51.722128] usb 4-2: Detected FT232RL
[   51.722131] usb 4-2: Number of endpoints 2
[   51.722133] usb 4-2: Endpoint 1 MaxPacketSize 64
[   51.722136] usb 4-2: Endpoint 2 MaxPacketSize 64
[   51.722138] usb 4-2: Setting MaxPacketSize 64
[   51.723643] usb 4-2: FTDI USB Serial Device converter now attached to ttyUSB0
[   51.723662] usbcore: registered new interface driver ftdi_sio
[   51.723664] ftdi_sio: v1.5.0:USB FTDI Serial Converters Driver
- 開啟 Arduino IDE,設定連接埠

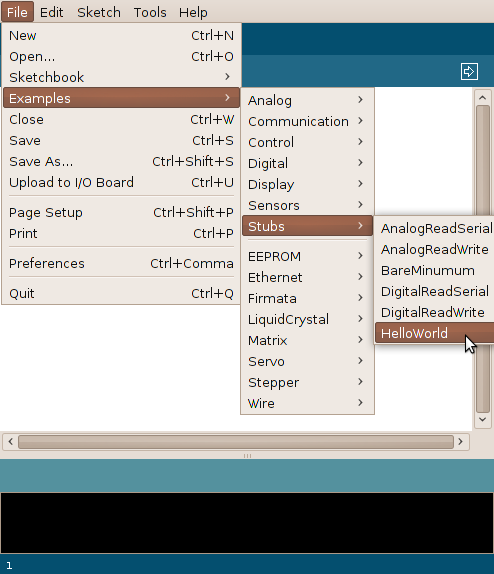
- HelloWorld 範例程式 (選取範例檔,如下圖)

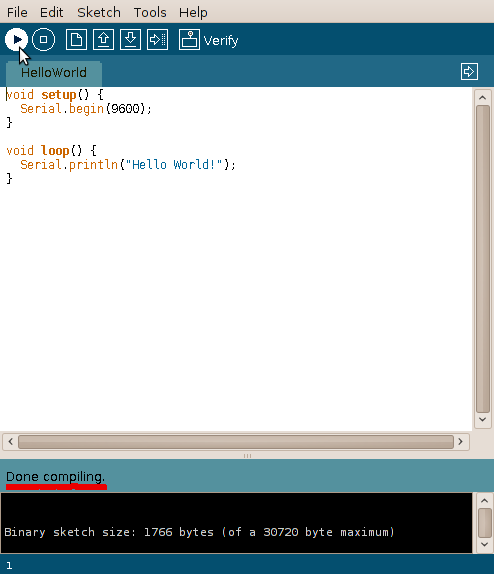
- 編譯,按下 Verify 按鈕,若出現 「done compiling」表示編譯完成

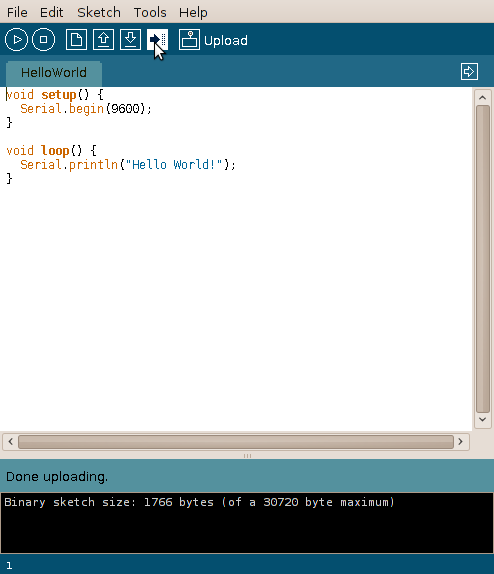
- 燒錄至 Arduino 版子

- 察看 Console,此時可以觀察板子上的 TX 燈號會亮起,表示正在傳送狀態

【4.控制燈號】
- 此範例程式讓 L 燈亮5秒之後熄滅1秒,一樣透過 Arduino IDE "complie" 後再 "upload",之後可看 Arduino 板子上的 L 燈變化
#define LED 13     //定義 LED 腳位為 13
void setup()
{
}

void loop()
{
  digitalWrite(LED, HIGH);     //設定 LED 燈開啟
  delay(5000);                 //持續開啟 5 秒
  digitalWrite(LED, LOW);      //設定 LED 燈關閉
  delay(1000);                 //持續關閉 1 秒
}
【5.Interfacing with linux】
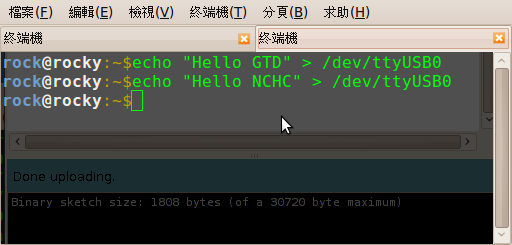
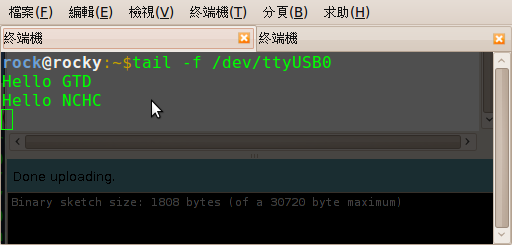
- Arduino 在 linux 上會被視為一個 char device,可以透過簡單的導向功能,把輸入和輸出導向 Arduino
- 此段程式碼會讓 Arduino 把輸入的字元輸出
/*
* Reflect serial input back.
*/
void setup()
{
  Serial.begin(9600);
}

void loop()
{
  while (Serial.available() > 0) {
    Serial.write(Serial.read());
  }
}


【6.Interfacing with processing】
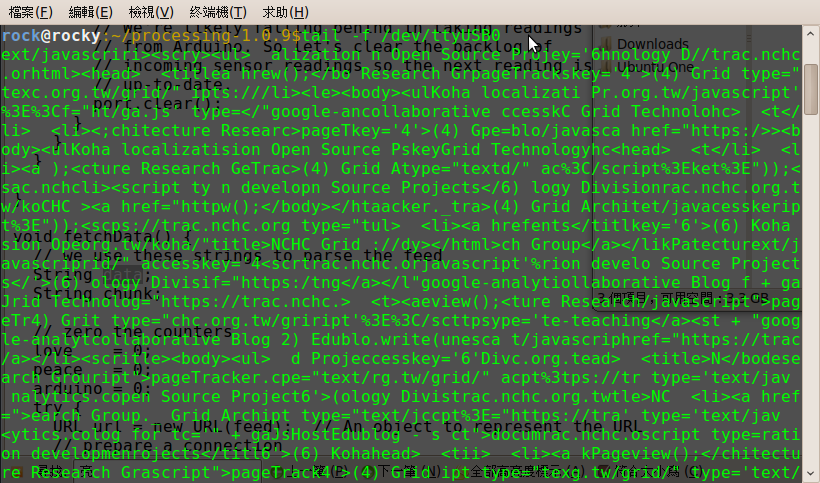
| 本範例利用 processing 去擷取網頁內容,並傳送到Arduino |
- processing code
import processing.serial.*; String feed = "http://trac.nchc.org.tw"; String data; Serial port; void setup(){ String arduinoPort = Serial.list()[0]; port = new Serial(this, arduinoPort, 9600); } void draw(){ try { URL url = new URL(feed); // An object to represent the URL // prepare a connection URLConnection conn = url.openConnection(); conn.connect(); // now connect to the Website BufferedReader in = new BufferedReader(new InputStreamReader(conn.getInputStream())); while ((data = in.readLine()) !=null){ port.write(in.readLine()); } } catch (Exception ex) { // If there was an error, stop the sketch ex.printStackTrace(); System.out.println("ERROR: "+ex.getMessage()); } } - Arduino code
void setup() { Serial.begin(9600); } void loop() { while (Serial.available() > 0) { Serial.write(Serial.read()); } } - 執行結果

【可能遇到問題】
- 開啟 IDE 時有錯誤訊息 -> (1)檢查環境變數 (2)是否已安裝相關套件(avr-libc, gcc-avr...)
- 無法燒錄 -> (1)檢查Tool/Board (2)檢查 Tool/Serial? (3)重新拔插USB介面
【參考資源】
- 書目
- 踏進互動科技世界 - 使用 Arduino(本書譯者收入的13%將捐助台灣88水災用)
- Making Things Talk
- 網站(英文)
- 網站(中文)
Last modified 16 years ago
Last modified on Jan 20, 2010, 5:51:52 PM
Attachments (8)
- port.png (25.0 KB) - added by rock 16 years ago.
- HelloWorld.png (40.8 KB) - added by rock 16 years ago.
- Verify.png (15.8 KB) - added by rock 16 years ago.
- Upload.png (15.4 KB) - added by rock 16 years ago.
- Console.png (34.3 KB) - added by rock 16 years ago.
- echo.png (21.5 KB) - added by rock 16 years ago.
- tail.png (20.9 KB) - added by rock 16 years ago.
- processing_arduino.png (200.2 KB) - added by rock 16 years ago.
Download all attachments as: .zip